Don’t send your favorite pieces off to the charity shop just because they’re looking a little bit dated!
If you’ve ever complained that they “just don’t make furniture like they used to,” it may be time to consider painting your furniture! A paint update can do more than just make worn furniture look new again. With the right techniques and paint, you can truly transform your piece. From new colors and finishes to decorative details, you can make a modern piece more traditional, a traditional piece more modern, or give a generic piece new life and personality.
While you may want to just grab that leftover can of paint in the garage and start going to town on your furniture, it’s a good idea to do a little research and prep work first in order to get the best results. The first thing you should know is that most furniture painting projects are achievable. With the right preparation and products, it is possible to paint not only wood, but metal, ceramic, and even laminate and plastic. Some brave souls even paint upholstery!
There are a wide range of products available for painting furniture. Chalk paint and spray paint tend to be most common for first-timers, but oil based paints and acrylics may work best in some applications.
There are some products that work well on a variety of surfaces with very little preparation, but some projects will need a more delicate touch. We’ve got some tips for how to assess your DIY furniture painting project, a list of product types you may want to consider, and steps to get started achieving your painted furniture dreams.
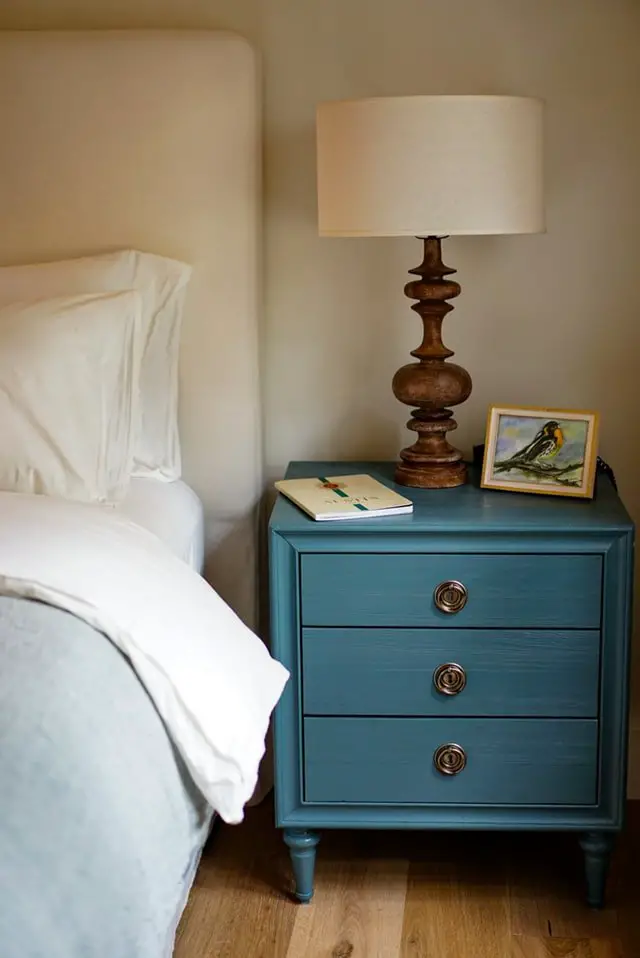
French Country Blue Painted Nightstand
What material is your piece made of?
It’s important to identify the material your piece is made of before you attempt to paint it. Wood is generally easy to identify, although some wood laminate does such a good job of impersonating wood that you don’t realize it isn’t wood until you attempt to refinish it! One good tip is to look at the bottom of a piece, particularly at the bottom of its legs or feet. Often if they’re made of wood, you’ll see the grain there. If they’re made of MDF or some other pressed wood material, you’ll probably be able to tell there.
Metal pieces are generally easy to identify, as is plastic, although it never hurts to look them over and make sure that the whole piece of furniture is made of the same material.
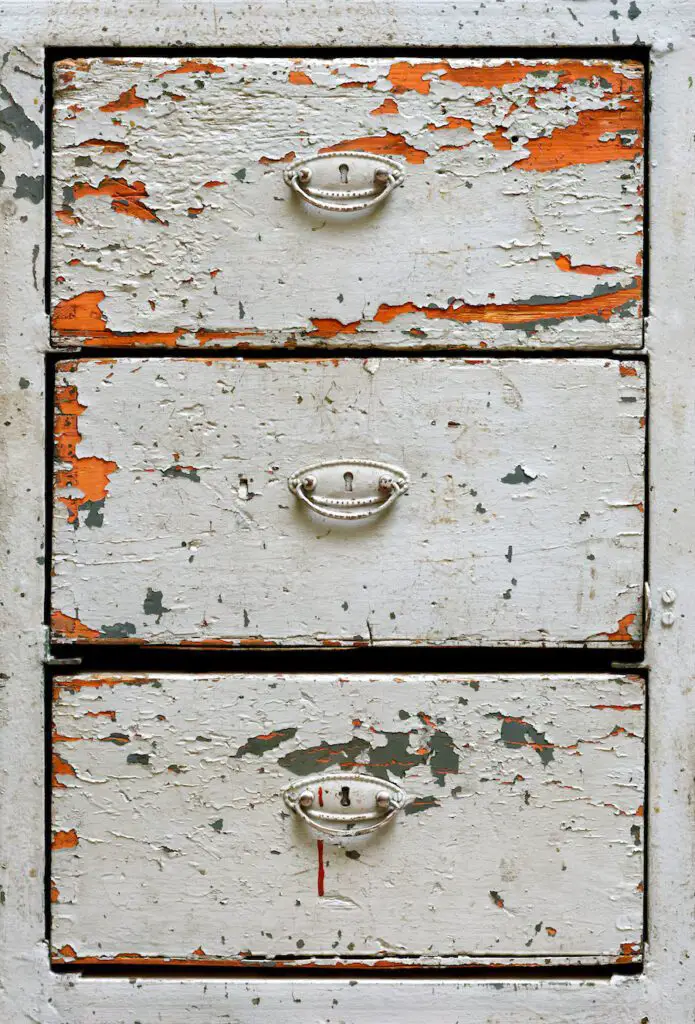
Filing Cabinet in Need of Refurbish
How should you prep for painting?
This question has a wide range of answers depending on the type of material you’re painting, your specific desired finish outcome, and the amount of time you have to finish the project.
It’s a good idea to Google techniques other people have used to prep your particular material for paint. Are you painting outdoor plastic chairs? You’ll probably need to scrub them clean and dry them really well, then use a primer before your final paint. Is your project a cast iron table? You’ll probably need to do some scraping and steel bristle brushing to smooth and remove rust, then sand with sandpaper or steel wool before you move on to a primer. And if you’re painting wood? Well, your prep depends a great deal on how your furniture was finished. If it has laquer, you may need to use a chemical stripper before you move on to scraping or sanding.
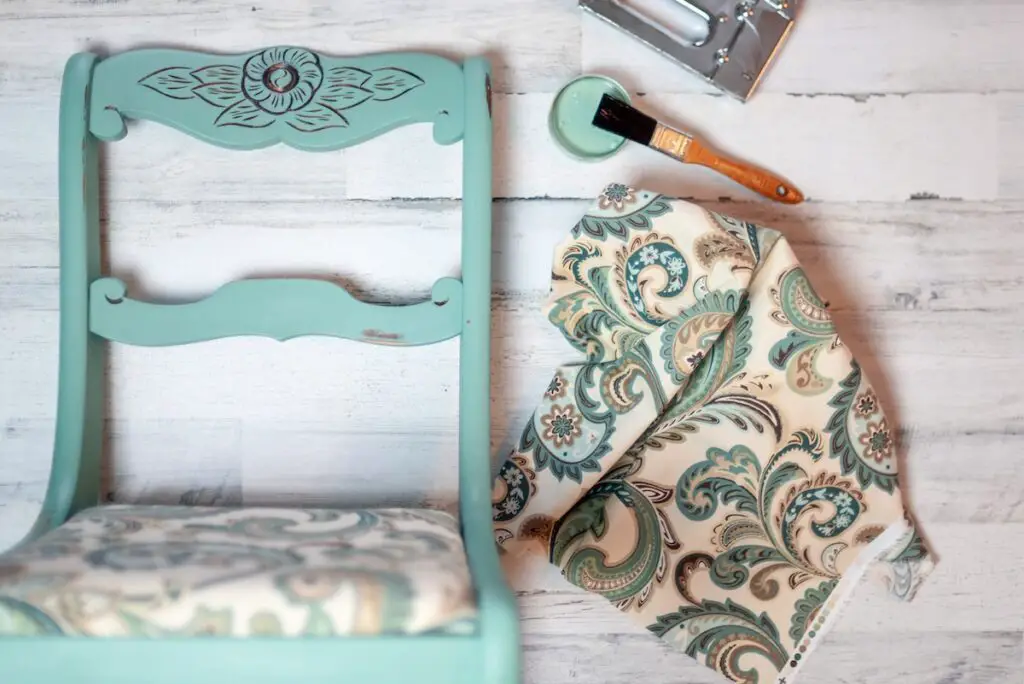
If you’re interested in a shabby chic type look, then you may want to intentionally leave some chipping paint or rust spots to come through your final finish. You may even want to faux finish using a crackle coat before you paint. Often just some strategic wax placement before painting that will help you clean off the overcoat later will give your furniture a well-loved patina. Research your chosen finish and find the technique you think will work best for you.
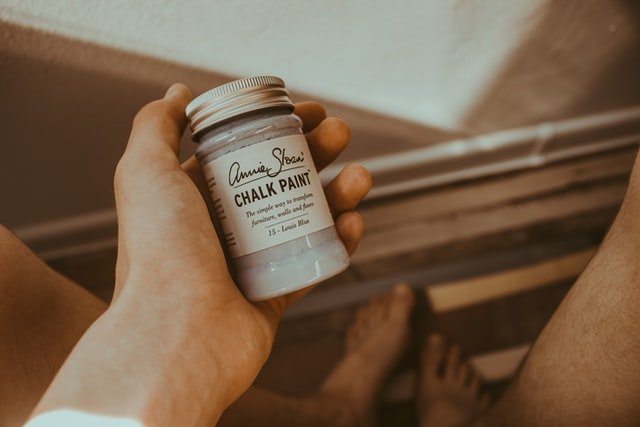
Jar of Annie Sloan Chalk Paint
Chalk Paint
In the world of furniture painting, chalk paint has reached nearly legendary status. It has a reputation for working on a wide variety of materials, from wood to metal to glass and even fabric! Many users find they only need one coat of paint to get full coverage, which can eliminate priming steps. There are also many people who swear you don’t need to do any prep work to paint some pieces. Reportedly, some users just open their can of chalk paint and start the first and final step of a coat of paint right then.
While your mileage may vary, there’s no doubt that many DIY-ers swear by this stuff. It has a very unique slightly chalky finish that can be enhanced or muted based on any top coats of wax or varnish you choose to use. If you’ve never looked into the world of chalk painting DIY, consider this your reason to do so. You’ll find people who’ve even redone their kitchen cabinets with this crafty favorite.
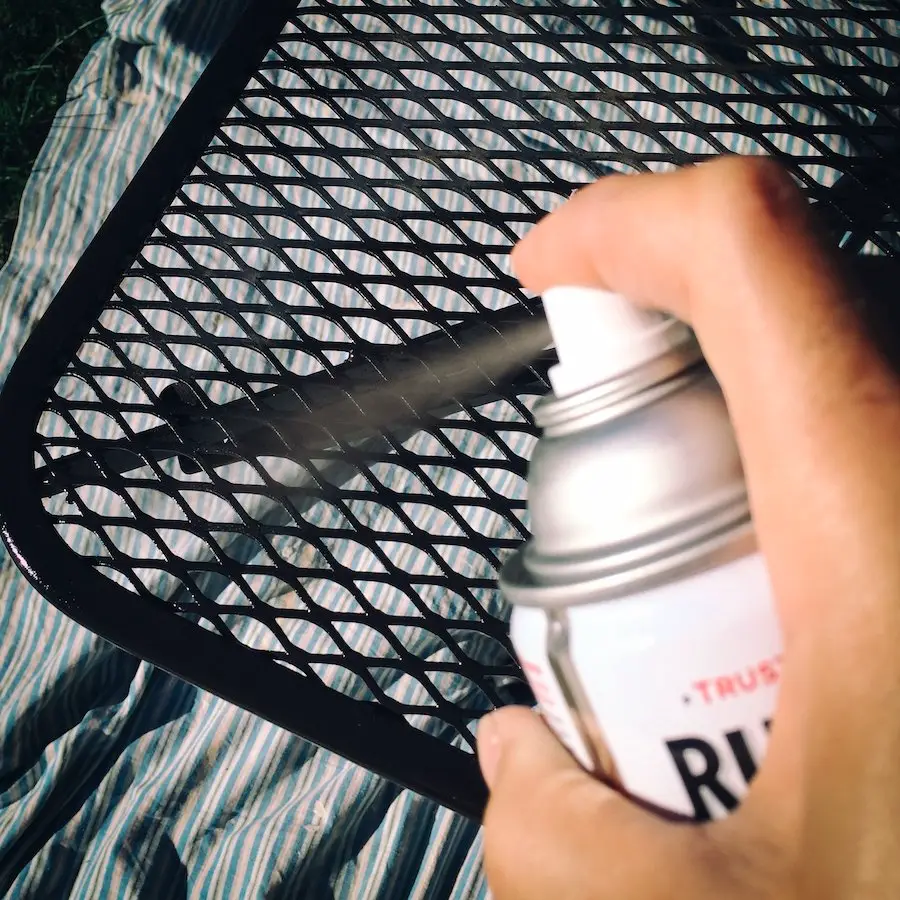
Can of Rust-preventative Metal Spray Paint
Spray Paint
Another popular choice for first time furniture painters is spray paint. For some surfaces, spray paint is the best choice – particularly metal and plastic. Although spray paint works great on wood too! In the past two decades some of the biggest paint companies have come out with a wide ranges of products devoted to refinishing furniture, including products that clean and prime. There are even packaged “systems” you can buy that include products for each stage of your project.
When working with spray paint, surface preparation becomes much more important, so be sure to research the project you’re embarking on before you start. And as always with spray paint, be sure to have a safe well-ventilated area in which to work. One thing to remember is that while spray paint might seem like the fastest paint choice, some projects work best with multiple coats.
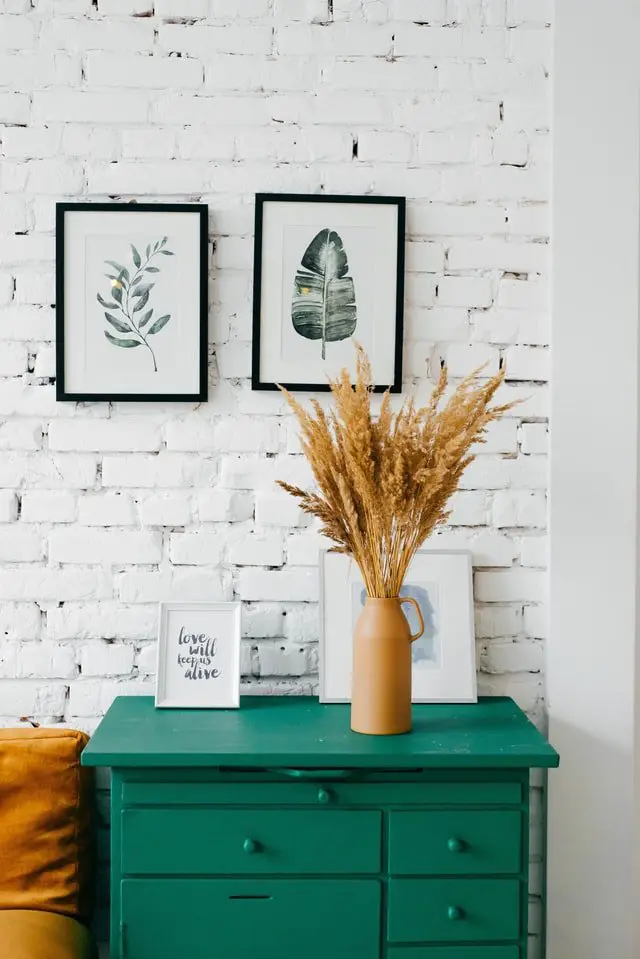
Painted Dresser
Have Fun!
No matter what your chosen furniture painting project will be, try to have fun with it. Remember you’re working with a piece of furniture you probably would have discarded anyway, so loosen up and experiment a little bit. If nothing else, you’ll learn some dos and don’ts for your next furniture painting adventure!

Shabby Chic Painted Nightstand